Get ready to have a blast with your kids at home! It’s time to get messy and creative. Put on your favorite tunes, roll up your sleeves, and let the fun begin. We’ve got 10 awesome arts and crafts projects that will keep your little ones entertained and smiling. Embrace the mess, have patience, and enjoy the creative journey together!
Slime recipe with only 4 ingredients to make at home!
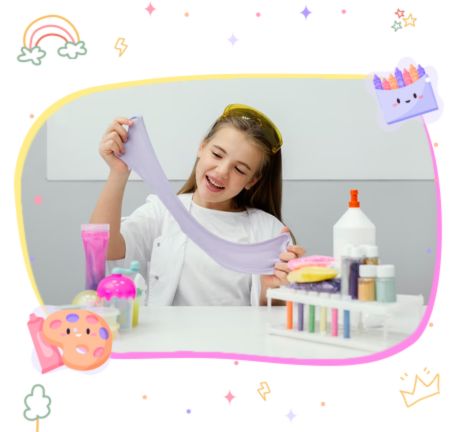
When it comes to kid’s crafts, homemade slime is one of the best ideas! It’s easy, quick, and not so expensive.
Add glue and food coloring to the bowl. Squeeze the bottle of glue into a bowl. Add your food coloring, if desired, and stir until combined. Then mix in the baking soda.
Mix in the saline solution. Add 1 1/2 tablespoons of saline solution and mix until combined. If it’s too sticky, add 1/2 teaspoon more solution at a time. The more you add, the thicker it will be. The less you add, the slimier it’ll be.
Materials:
- glue
- food coloring
- saline solution
- baking soda
Get ready for some slimy fun that’s bound to captivate kids of all ages! Slime is a universally loved activity that never fails to bring smiles and laughter. Whether you’re 5 or 55, there’s just something about slime that draws everyone in! The best part is that there are countless slime recipes out there, and you can even create your unique concoction by experimenting with different ingredients. It’s a fantastic opportunity to get creative and bond with your kids while exploring the fascinating world of slime-making. From fluffy slime to glitter slime, the possibilities are endless.
Giant Paper Airplanes
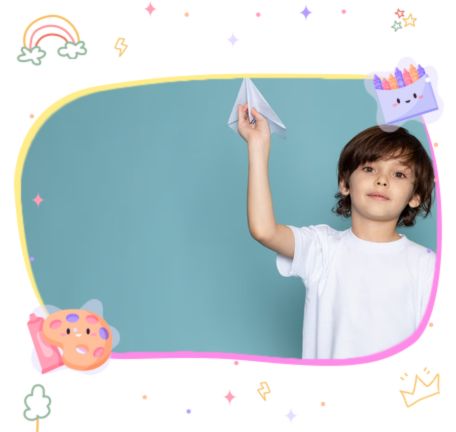
Get ready to take paper airplanes to the next level with giant paper planes! Kids will be thrilled to see their creations soar through the sky. The best part? It’s a budget-friendly activity that only costs $1.00. Gather your materials, and let’s get started on this exciting adventure!
Materials:
- 1 piece of poster board from a dollar store
- Clear packing tape
- Stickers (optional)
Fold the giant paper plane the same way you would a regular-sized one. It’s better to use clear packing tape to reinforce the folds so the plane doesn’t come apart while it is being handled by kids’ hands, especially the little ones. Invite your child to decorate their giant paper airplane with colors or stickers.
Done! Go fly!
Bubble Painting with Kids
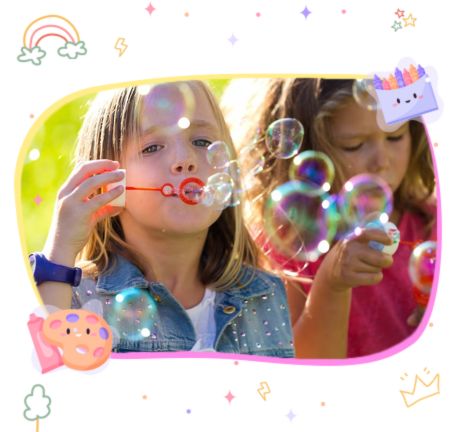
This is a fantastic activity that combines art and science and is perfect for summer fun. Bubbles have a magical effect on everyone, from kids to adults. Just a whiff of bubbles brings a smile to our faces and transports us into a playful state of mind. With bubble painting, you can create mesmerizing artwork as you watch the bubbles burst into vibrant splashes of color. It’s not just about creating beautiful designs; it’s also a chance to explore mixing colors and experiment with each new bubble you blow. Get ready for a bubbling adventure that will leave you in awe!
Materials:
Bubble Solution
Liquid Watercolor Paper
Bubble Wand Smocks
You have to mix the bubble solution with a couple of drops of any liquid watercolor. There is no exact measurement, so play around with it, until you’ve achieved the desired color.
Now place a sheet of paper on the ground or table. Using your bubble wand, blow a “colored bubble”, and catch it on the paper! As the bubble bursts, it leaves behind a “pop” of color! That’s the wow factor of this project. Keep blowing bubbles to complete your creation. Have fun letting your kids discover what is going on.
Here’s a cool tip for you: if you find yourself without bubbles or a magic wand, don’t worry! You can make your bubble solution using simple ingredients you already have at home. Just mix a tablespoon of dish soap with a cup of water, and voila! You’ve got your very own bubble solution ready to go. And guess what? You can even create your bubble wand using a pipe cleaner. Just twist it into a fun shape like a circle or a heart, and you’re all set to blow some awesome bubbles. It’s DIY bubble fun at its finest!
Q-tip painting
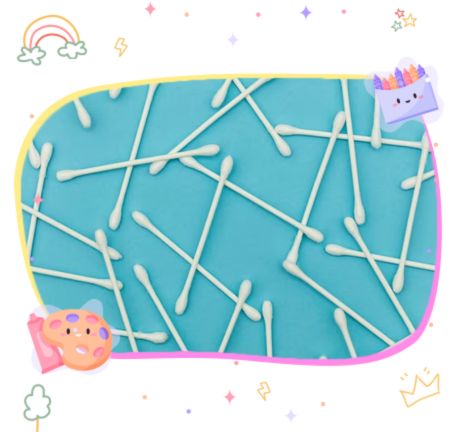
Unleash your inner artist side with this exciting pointillism art activity using Q-tips! It’s a simple yet captivating technique that will leave you amazed by the beautiful results. All you need are some watercolors and a bunch of Q-tips to embark on this artistic adventure.
Materials:
- Liquid watercolors*
- Watercolor paper
- Q-tips (or other cotton swabs)
- Watercolor tray or palette
It’s probably better to set up the activity on a tray or mat with a sheet of watercolor paper and your watercolor paints. You can use the paper whole, or you can cut it into smaller pieces if you like. Half and quarter sheets work well with Q-tip pointillism.
Dip a Q-tip in one of the liquid watercolors, then press the tip to the paper. Repeat this action several times; just keep going! You can get several dots out of one dip. Dip the Q-tip in the paint again when the color begins to fade, and dip the Q-tip in the paint again before pressing it to the paper. Or use a new Q-tip and a different color of paint. Once you finish, allow your masterpiece to dry.
It’s amazing to see what kids can come up with—their imaginations know no bounds! With a simple dot, a Q-tip transforms into a powerful tool for creating lines, shapes, and intricate details. Some artists dive into the realm of abstract art, while others bring their favorite animals to life with a flurry of colorful dots. The possibilities are endless, and the results are simply mesmerizing. So grab your paints and your Q-tips, and let your imagination run wild on that canvas! Get ready to witness the magic of pointillism unfold before your eyes.
Colorful coffee filter butterfly craft
Spread your creative wings! This craft is all about making vibrant butterfly wings that you can proudly display in a window or anywhere you like. All you need are some coffee filters and a splash of colored water, and you’re on your way to creating beautiful butterflies. Watch in amazement as the colors blend and mix, revealing delightful surprises like the magical purple hue. Let your child take the lead and explore their curiosity as they experiment with different color combinations. It’s a simple yet captivating activity that will bring joy and a touch of whimsy to your day. So grab those coffee filters, unleash your inner artist, and let your colorful butterflies take flight!
Materials:
a few coffee filters (at least three)
paper plates (we used 4, one for each color combination and one for the finished products to dry).
paper towels
small amounts of water in two bowls
Food coloring in red, blue, and yellow
eye droppers or syringes
pipe cleaners
Lay out one of the coffee filters on a paper plate (just to keep the water from going everywhere). If you want, ask your child to choose two primary colors, or maybe just pick the color yourself. Just put two or three drops of each color into the bowls. Let your child experiment with the bowls of water; they will have so much fun injecting the water into the other bowl and pouring it onto the coffee filter!
Tip: If the coffee filter gets saturated, simply pour the water back into one of the bowls. When you are done, place the finished coffee filter on the other paper plate to dry. Then place a paper towel between each coffee filter. When the water runs out, you can offer to repeat the activity with different colors. Kids often say yes!
To finish the butterflies, you have to scrunch the coffee filter in the middle (kind of like an accordion) and wrap a pipe cleaner around it with the ends on top. Twist the top of the pipe cleaner to secure it in place. Position them in a way that you like and fan out the sides of your butterflies; these are now your wings.
It’s an excellent opportunity for kids to practice their fine motor skills as well as learn about the science of color. It is also a very calm, soothing process art activity that is nice for when everybody needs a few minutes of quiet.
Magical fairy and gnome mason jar terrariums
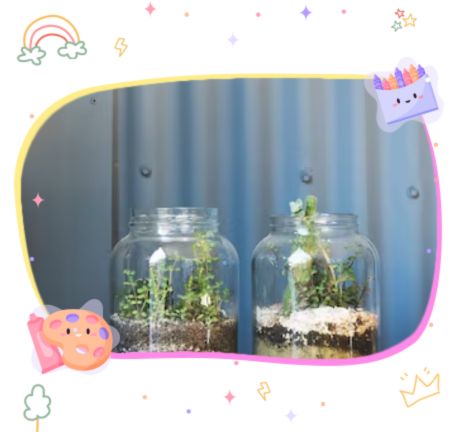
Embark on a gardening adventure with mason jar terrariums! They’re the perfect project to introduce kids to the wonders of gardening. And guess what? They’re super easy to create and even easier to take care of. But here’s the real excitement: you can turn your terrarium into a magical fairy or gnome garden that will ignite the imagination of your little ones. Gather some everyday items you have lying around the house, like an old jar or glass and a spare toy figurine. Then, let your creativity bloom by adding natural elements such as pebbles, leaves, seashells, rocks, pinecones, twigs, and moss. For a green touch, opt for small succulents that you can easily find at an affordable price or propagate from one you already have. Before you know it, you’ll have created a whimsical world in your little terrarium. So, let’s get started and watch the magic unfold!
Materials:
- Mason jar
- Pebbles
- Planting soil
- Small succulents (these plants require very little water)
- Seashells, twigs, figures, etc.
First, place a layer of rocks on the bottom of the mason jar to allow for drainage. Then put a layer of soil over the stones and poke a little hole in the ground with your finger. Set the succulent in the little hole and add more soil just to secure it a bit more. Add your figurine or other elements of your choice. And it’s done!
This experiment has so many possibilities that kids often come up with things we never thought about and make wonderful and unique magical little places inside these themed terrariums.
Marshmallow Craft for Kids and Lil’ Architects
Marshmallows are not only irresistibly delicious, but they also hold incredible potential for endless fun. Brace yourself for a thrilling challenge that will engage kids of all ages. It’s time to unleash your competitive spirit and put your building skills to the test. All you need are mini marshmallows and toothpicks, but the real secret ingredient is the element of competition! Get ready to embark on a tower-building adventure like no other. Watch in awe as your creations rise higher and higher, defying gravity with each carefully placed marshmallow and toothpick. But this is not just a game—it’s a learning experience. As you build your towers, you’ll discover the fascinating world of geometry and math. So, grab those marshmallows, grab those toothpicks, and get ready to reach new heights in the ultimate marshmallow tower challenge! Let the games begin!
Set up a bowl or plate for each individual who is going to participate. You need each set to have some marshmallows and the same number of toothpicks to make it fair play. Twenty each is a good base to start with, but the more you use, the higher the towers can be.
Start building! Experiment with different shapes. Which works better, triangles or squares? If you want to add a time limit, you can. You can set any rule that encourages a happy time with kids during these competitions.
The one with the tallest tower wins!
Egg Carton Flowers
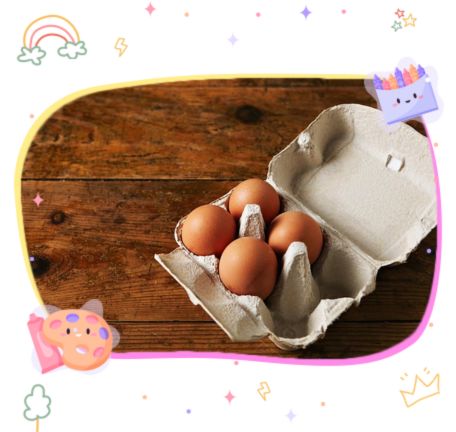
Ah, the humble egg carton—a crafting gem just waiting to be transformed into something extraordinary! After all the Easter egg-dying fun, we have a surplus of egg cartons just waiting to be repurposed. So why not turn them into vibrant, eye-catching flowers that will brighten up any space? Whether you want to surprise Mom on Mother’s Day or Dad on Father’s Day, these colorful creations are the perfect gift idea.
Materials:
acrylic paint
Egg carton (not foam)
Paper Straw
Pom Poms
Scissors
Glue
Paint Brush
First, an adult has to cut four containers out of the egg carton. It’s better to trim around the edges so that it has a rounder shape like the petals of the flower.
Put some paint colors on a paper plate or bowl, and have the kids paint their flowers on both sides. Use any colors you’d like. Let it dry after you attach the stem of the flower by gluing it to the back. The paper straw is thick enough to hold up the egg carton, and it looks great with any design. If you use something like a pipe cleaner, it will just bend.
You can also add a colored pom-pom and glue it to the center of the painted egg carton. It’s a nice detail that gives texture and more life to the project. These flowers are not only delightful to look at, but they also make a beautiful display or a heartfelt gift that will be treasured.
I Spy Bottle Challenge
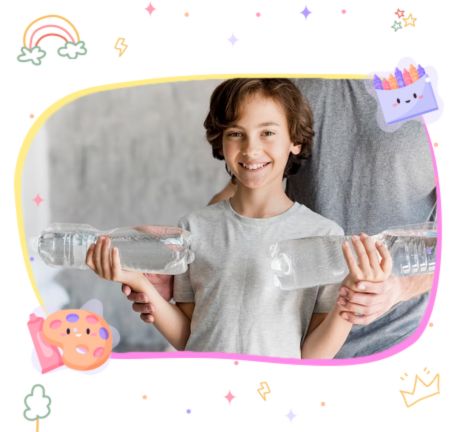
We all know and love the classic “I Spy” game, but get ready for a new twist that will take the excitement up a notch! Introducing the I Spy Bottle Challenge. It’s super easy, won’t break the bank, and you probably already have everything you need right at home. This game is perfect for keeping little ones and even those not-so-little ones busy and on a mission! Whether you’re on a road trip, waiting at a restaurant, or even sitting at the doctor’s office, the I Spy Bottle Challenge is here to save the day. Get ready for hours of fun as you spy on and search for hidden treasures inside a cleverly crafted bottle. It’s a game that guarantees lots of laughter and adventure this summer. So, gather your materials, put on your detective hat, and get ready for an unforgettable I Spy experience like never before!
Materials:
empty water bottle
Dry rice;
small trinkets such as beads, shells, pom-poms, charms, paper clips, buttons, dice, coins, etc.
You just have to gather trinkets from around your home; look for things with a variety of shapes, colors, and sizes. As long as the items can fit through the bottle opening, anything goes.
Fill the bottle with dry rice and trinkets, leaving enough room for the “hiding resources” to move around. Don’t forget to put the bottle cap back on; you can even seal it with glue if you feel your kids may be tempted to open it.
Just shake and rotate the bottle to see what’s in it; it’s going to be fun for toddlers, and they will enjoy it. To challenge older children to find words that start with the letter “A,” etc. It’s wise to write a list of the items you selected so you can come up with the games and know once your kid has found them all. Enjoy!
Enchanting Magic glitter potions
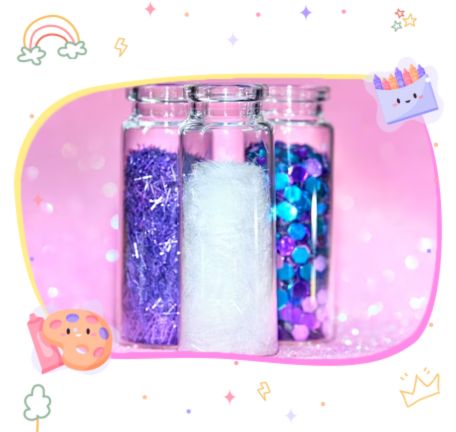
Unlock the magic within with the delightful craft of creating magic glitter potions! We all love a little touch of magic in our lives, especially kids. This craft is quick, easy, and full of wonder, allowing you and your kids to embark on an enchanting journey of imagination. The concept is simple: together, you can concoct potions that hold special powers or grant wishes. It’s a beautiful way to spark creativity and spread joy to those around you. Let your imagination run wild as you mix and create your magical elixirs!
This craft is not only fun, but it can also be incredibly touching. When you sit down with your kids to create these enchanting potions, you’ll be amazed at the dreams, wishes, and fears that emerge from their hearts and minds. Some might concoct potions for curing diseases, while others might dream of flying high in the sky. There may even be potions to conquer monsters, face bullies, or find the courage to overcome challenges. And who knows? Someone might even wish for the power to travel through time! Brace yourself for a conversation filled with surprises as you discover the incredible depths of imagination and love within your little ones.
Material:
- plastic bottle or any see-through container that can be closed.
- glitter
- sparkles and jewels (optional)
Gather around with your child, whether it’s at the table or under the starry night sky—any setting will work its magic. All you need is a bottle filled with water and, of course, the most important ingredient: glitter! Hand the glitter to your little one and say, “Now it’s time to create a potion for whatever you like.” Encourage them to carefully pour the glitter into the bottle while concentrating on their desires and envisioning positive vibes. Once the glitter is in, seal the bottle tightly and give it a good shake. Voila! The magic potion is ready. But make sure to explain to your child that this potion is strictly for play and not for drinking. It’s a special game we’re playing together. When you’re done, find a secret spot where only mom or dad knows, and store the bottle away. If your child ever needs the magic potion, they’ll have to ask for it. Get ready to unlock the power of imagination and create enchanting moments with your little ones!